
The Best Way to Organize Your Content for Your Small Business (Step-by-Step Guide)
Create a Simple Content System That Saves You Time Every Week
Does creating content ever feel more chaotic than it should?
Have you ever sat down to create a blog post or social media graphic, only to realize you have no idea where anything is? You start by looking for a photo, then you're digging through your Downloads folder, opening Canva, checking Google Drive, scrolling through your phone, and maybe even searching Pinterest for inspiration. Before you've written a single word, you've already spent 30 minutes looking for everything you need.
I know that feeling because I've been there too. For the longest time, I thought I needed more motivation or better content ideas. But after paying attention to how I was actually spending my time, I realized the problem wasn't a lack of creativity but it was a lack of organization. I didn't need more ideas; I needed a better system. That's when I created what I now call my Content Vault. This Content Vault is one organized place for all of my photos, videos, templates, graphics, and marketing assets. It completely changed the way I create content, and today I'm going to show you exactly how you can build one too.
What Is a Content Vault?
I like to think of a Content Vault as your business's home for everything related to content creation. It's one organized place where you keep your photos, videos, Canva templates, graphics, logos, and other marketing assets. Instead of opening five different folders every time you sit down to create something, you know exactly where everything is. That simple change can save you hours over the course of a month.
Your Content Vault might include:
Brand photos
Stock photos
Stock videos
Canva templates
Blog graphics
Pinterest graphics
Email headers
Brand colors
Logos
Fonts
Testimonials
Content ideas
Lead magnets
Mockups
The goal isn't to have thousands of files.
The goal is to have everything organized and easy to find.
Why Organizing Your Content Matters
Most business owners think creating content is what takes so long. But when you really pay attention to your workflow, you'll probably notice that creating isn't the problem. It's all the little things that happen before you ever start.
Think about how often you stop to look for:
Your logo
Your brand colors
A stock photo that fits your brand
The Canva template you used last month
That blog graphic you know you already created
Each of those moments might only take a few minutes, but they quickly add up. Before you know it, you've spent more time searching for your content than actually creating it.
That's why having a simple organization system makes such a difference. When everything has a home, you can spend less time looking for files and more time creating content that helps grow your business.
Step 1: Choose Where Your Content Vault Will Live
The first step is deciding where you'll store everything.
There isn't one "right" platform.
Choose one you'll actually use consistently.
Some great options include:
Google Drive
Dropbox
iCloud Drive
Microsoft OneDrive
Your computer (with cloud backup)
Action Step
Create one folder called:
📁 Content Vault
Everything you use to create content will eventually live here.
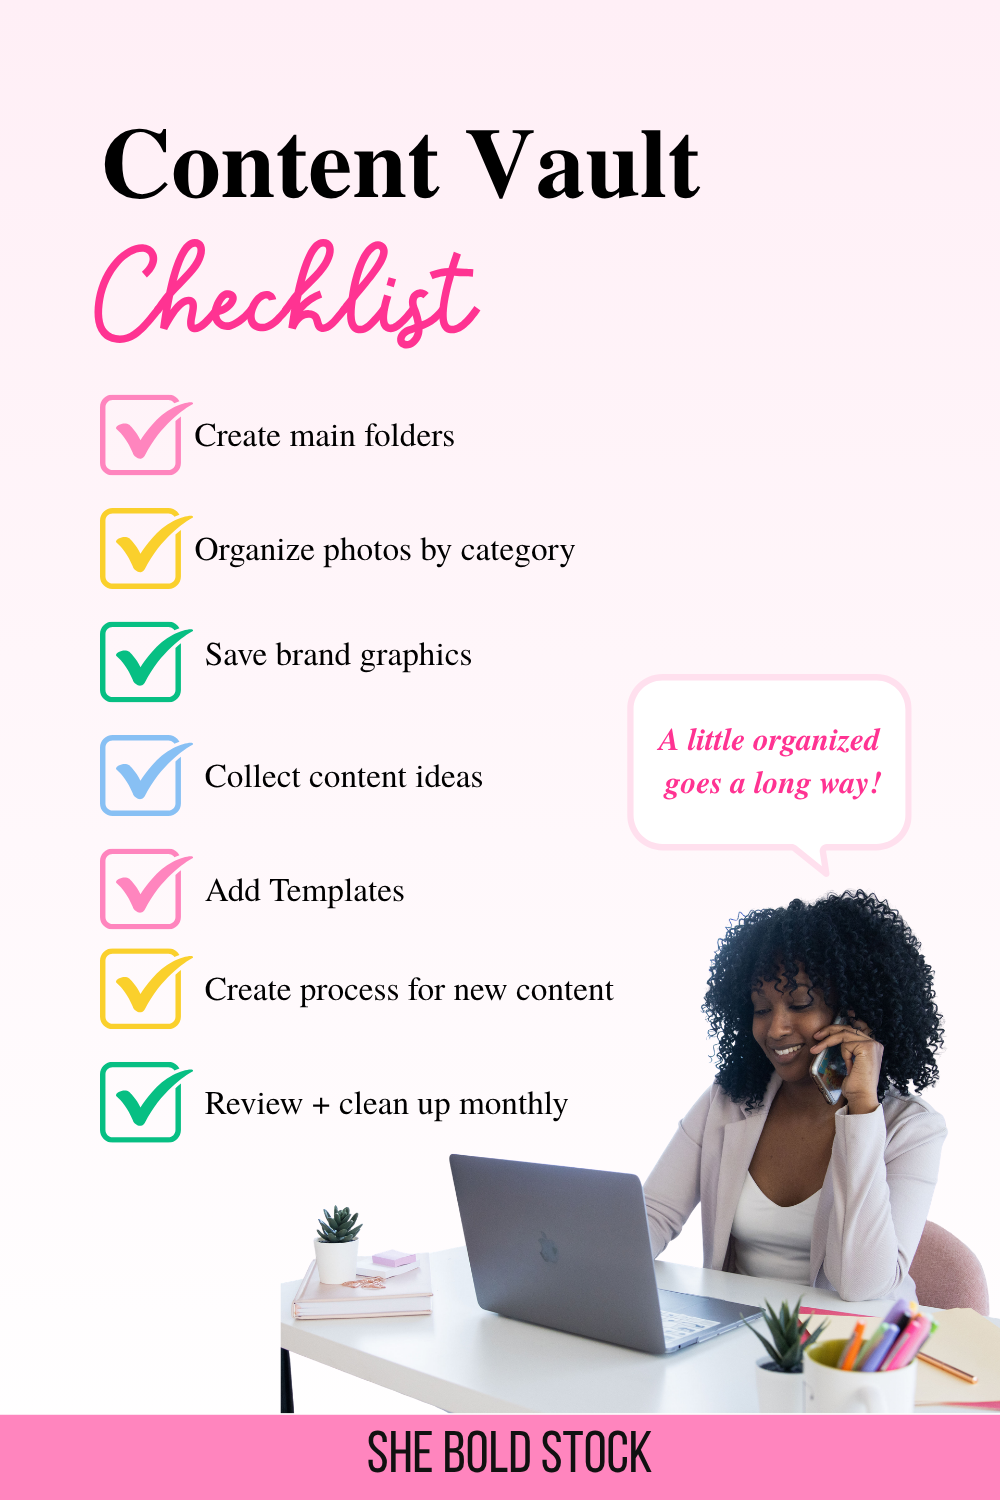
Step 2: Create Your Main Folders
Inside your Content Vault, create folders that match the way you work.
Here's a simple structure to get you started:
📁 Brand Photos
📁 Stock Photos
📁 Stock Videos
📁 Canva Templates
📁 Blog Graphics
📁 Pinterest Pins
📁 Email Graphics
📁 Brand Kit
📁 Testimonials
📁 Lead Magnets
📁 Content Ideas
Don't worry about making it perfect or having all of the assets at the moment. The goal is to start simple and improve it over time.
Action Step
Create your first five folders today.
Step 3: Fill Your Content Vault
Now it's time to add the resources you use regularly.
Start with:
Your logo
Brand fonts
Brand colors
Headshots
Brand photos
Canva templates
Favorite graphics
If you already have stock photos or videos, organize those too. The goal is to make sure you're never wondering where something is.
Step 4: Use the She Bold Stock Vault to Fill Your Content Vault
One mistake I used to make was downloading random photos whenever I needed them. I'd grab a few from one collection, a few from another, and before I knew it, nothing really matched. My blog posts looked inconsistent, my graphics all had a different style, and I was spending way too much time trying to make everything work together.
Now I do things much differently. At the beginning of the week, I choose one photo collection from the She Bold Stock Vault and use it as the visual foundation for all of my content. That one collection gives me everything I need to create:
Blog graphics
Pinterest Pins
My email newsletter
Website graphics
Social media content
Because every image comes from the same collection, my content feels cohesive and professional without me having to think about it. Instead of searching for the "perfect" photo every time I create something, I already have a collection of images that work beautifully together. It saves me time, keeps my branding consistent, and makes the entire content creation process feel so much easier.
Action Step
Download one collection and save it like this:
📁 Content Vault
→ 📁 Stock Photos
→ 📁 Bright Workspace Collection
Now you have an organized collection ready whenever you need it.
Step 5: Save Everything You Create
One of the biggest mistakes I see business owners make is creating amazing content, publishing it, and then never thinking about it again. A few months later, they want to reuse a graphic or update a blog post, but they have no idea where they saved anything.
I've learned that every time I finish creating something, I immediately save it to my Content Vault. That way, if I ever need it again, I know exactly where to find it.
For example, after I publish a blog post, I save:
Blog banner
Pinterest Pins
Email header
Featured images
Canva design
SEO title
Meta description
It only takes a few extra minutes, but it saves me so much time later. The next time I write about a similar topic or want to refresh an older blog post, I'm not starting from scratch because everything I need is already organized and waiting for me.
Action Step
Ask yourself:
Could I find this graphic six months from now in less than a minute?
If the answer is no...Organize it now.
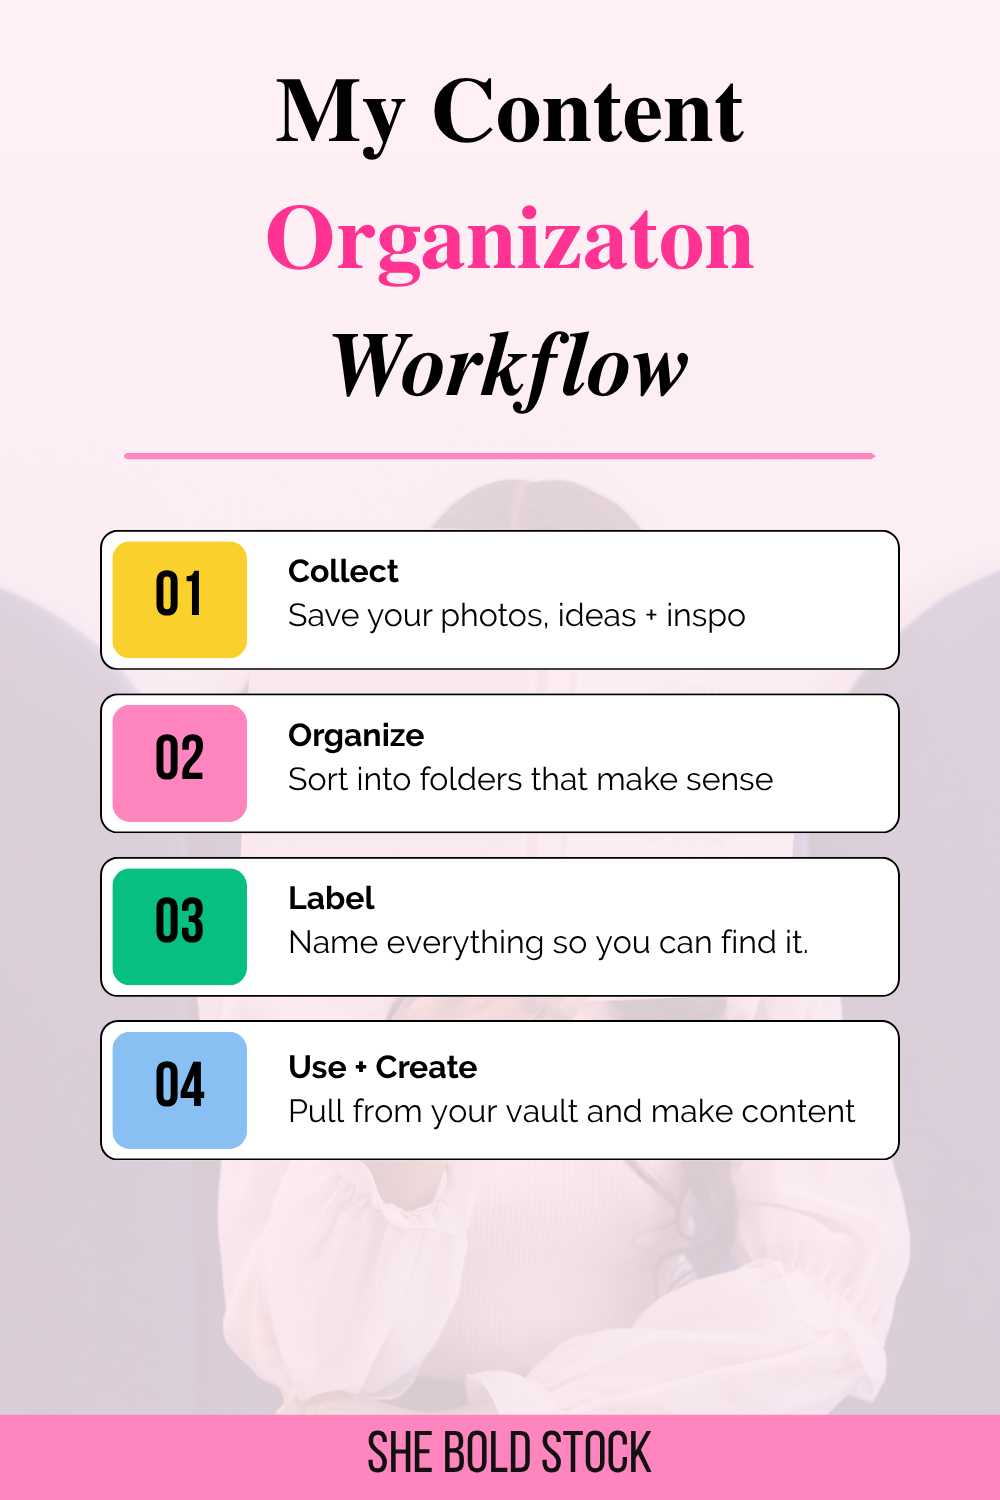
Step 6: Create a Weekly Workflow
Once your Content Vault is built, every week becomes much easier.
Here's the workflow I follow.
Monday
Choose this week's topic.
↓
Choose one photo collection.
↓
Write the blog.
↓
Create Pinterest Pins.
↓
Write the email.
↓
Schedule everything.
↓
Save every finished graphic back into your Content Vault.
Then repeat next week.
Notice something?
I'm not creating from scratch.
This simple habit makes a huge difference because the next time you create content, you're building on work you've already done instead of starting from scratch.
My Favorite Tip
One of the biggest mistakes you can make is thinking your Content Vault has to be perfect from the very beginning. It doesn't. Start with what you have and build it little by little. Maybe today you organize one folder, next week you download one photo collection, and the week after that you save your favorite Canva templates. Every small step adds up, and before you know it, you'll have a Content Vault that saves you hours every month. Remember, you don't have to build it all in one day. You just have to keep building it.
Your 30-Minute Content Vault Challenge
Before you leave this page, set a timer for 30 minutes and complete these five tasks.
☐ Create a Content Vault folder.
☐ Add five main folders.
☐ Organize your brand assets.
☐ Download one photo collection.
☐ Save one Canva template.
Done is better than perfect.
Frequently Asked Questions
Where should I store my Content Vault?
I recommend using a cloud storage platform like Google Drive, Dropbox, iCloud Drive, or OneDrive so you can access your files from anywhere. The best choice is the one you'll use consistently and is user friendly to you!
What should I put in my Content Vault?
Start with the essentials:
Brand photos
Stock photos
Videos
Canva templates
Logos
Brand colors
Fonts
Blog graphics
Email graphics
Pinterest graphics
Testimonials
Content ideas
As your business grows, your Content Vault will grow with it. How exciting is that!
Do I need to create all of my own photos?
Not at all.
A mix of personal brand photos and high-quality stock photos works well for most service-based businesses. Stock photo collections can help you create a cohesive look while saving time.
Final Thoughts
Creating content doesn't have to feel overwhelming. When your photos, templates, graphics, and ideas are all organized in one place, you'll spend less time searching and more time creating. The goal isn't to build the perfect Content Vault overnight. It's to create a simple system that works for you and grows alongside your business. Start with one folder, one photo collection, or one template, and keep building from there. Before long, you'll have a Content Vault that makes creating content faster, easier, and a whole lot less stressful.
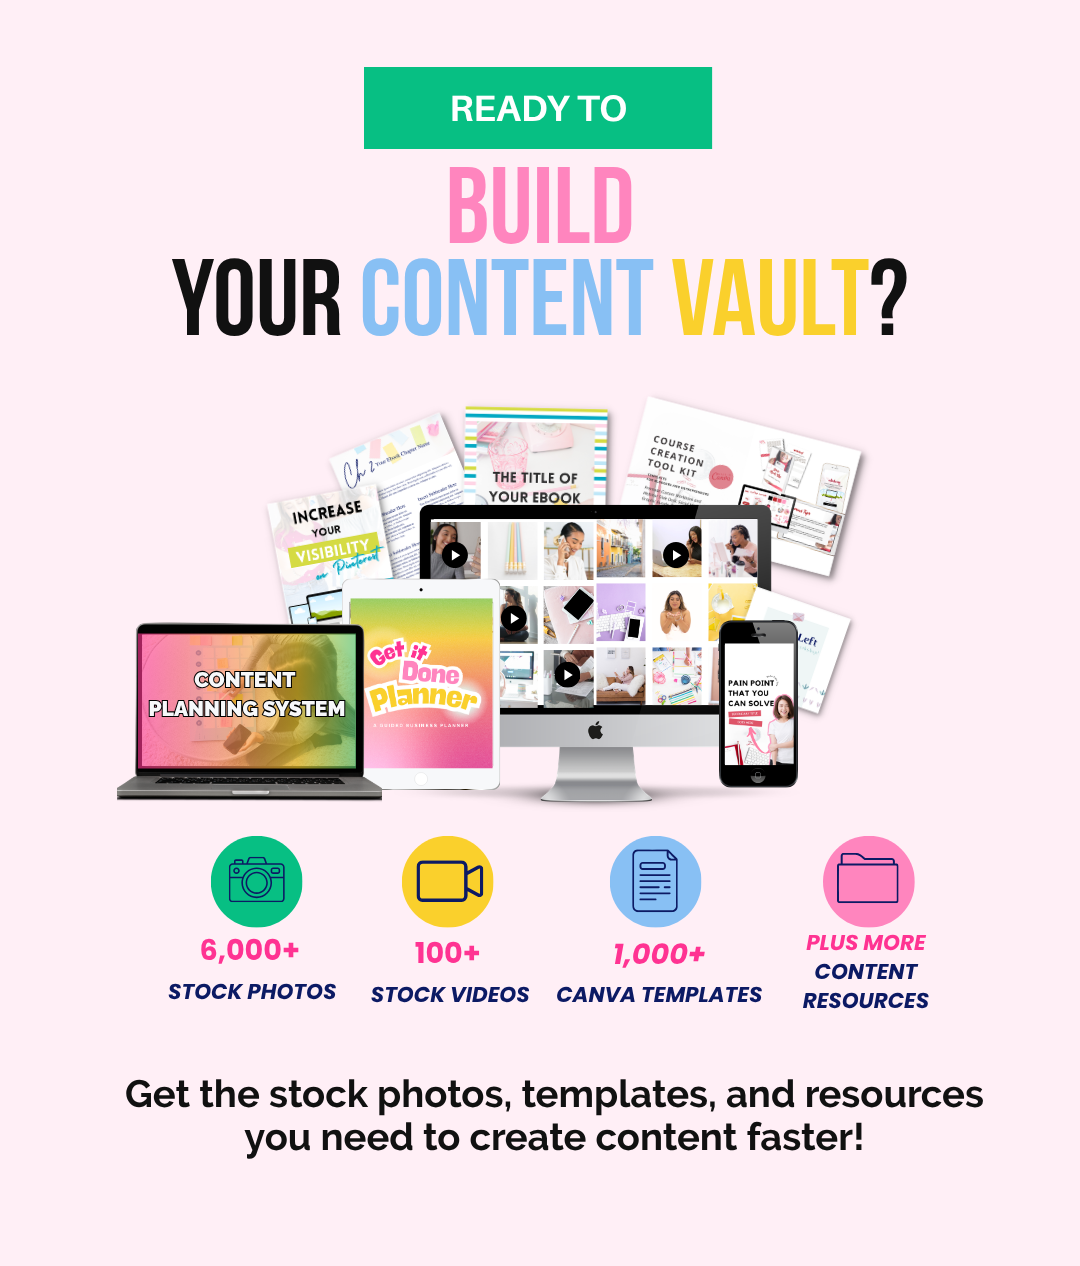
Ready to Fill Your Content Vault?
If you're looking for colorful, feminine stock photos, videos, Canva templates, and marketing resources to help you create content faster, the She Bold Stock Vault is designed to help you build a Content Vault you'll actually use.
Inside you'll find:
✅ 6,000+ stock photos
✅ 100+ stock videos
✅ 1,000+ Canva templates
✅ Marketing resources
✅ Content planning tools
So instead of spending hours searching for content, you can spend more time creating it.